Thursday 31 March 2011

Sour-dough render, anyone?

Mud to photographer in 3, 2, 1 ...
This is Render Recipe 2.  A thick clay slurry mixed with chaff, but the secret ingredient is a scoop-full of water that's been mixed with compost and strained, as a "starter", because I want this render to ferment, like sour-dough bread.  I've left it for a week to bubble.

The idea is to try to duplicate the magic of adding cow poo to one's render mix, without the bother of dealing with actual cows and the people who own them.

I really should just go meet the people who own the nearby dairy, but I want to do rendering when I'm there on my own on a bike, and it's just too hard to carry freshly squeezed cow poo by bike.

Mmmmmm
The mix is a bit wetter than I'd usually use for render, but I figured the clay will thicken up over the week, because it usually does - though I'm not sure what impact fermenting will have - maybe that will release liquid? The render also has a higher clay-to-chaff ratio than I'd usually use, so I expect it to crack as it dries.  But if it is workable and has good weather resistance, I don't mind a bit of cracking in the first coat.

I'm a bit worried about the smell.  I've always been very careful never to leave organic matter mixed in wet clay, because it will go off and become foul.  It's a bit weird doing it on purpose.

TJ's verandah is all but finished.  Cool, eh?  It looks like it's always been there.  All it needs is a down-pipe on the guttering and a tank.

Verandah on west wall
That photo also shows some form-work for the top bit of west wall we did last weekend.

TJ has put up the fascia-less guttering on the east wall.  Once the down-pipe goes in I'll be able to start the rock and mud work.


So, I'm off tomorrow by bike to face the stinky render mix.  Wish me luck.

Tuesday 22 March 2011

Window Win, Render Fail

BEFORE ...

... AFTER! FEATURING HIGH TECH WINDOW SURROUNDS SHAPING TOOL
In order to distract you from the fact that I haven't taken photos of the verandah we've been working on for two weekends*, I present classic before and after shots, beloved cliche of home renovation shows.

I've also been experimenting with mud render. 

I've made mud render before, but I can't get one of the ingredients in the old recipe - fresh cow manure.

My friend Ric has selfishly stopped raising Murray Grey cattle. Following his beasts around at dawn scooping up fresh cow pats before they harden was one of the best things about the Very Small Shed project.  Then when I added the cow poo to the render mix (at about 1 scoop of poo for say 8 scoops of mud, but who's counting) it worked some strange magic. The render stuck to the wall, it was easy to work with and it dried to a lovely waterproof finish. 

Once you recover from the ick factor, fresh cow manure is pleasant to work with and the very mild composty smell goes away when it dries. 

Ric used to say that Murray Grey were very special creatures.  He said their poo was probably a very superior product.  But that didn't stop him retiring.  Selfish octogenarian.

I figure cow manure is basically very finely chopped grass fibre, plus some enzymes.  I can't replace the enzymes, but I thought paper pulp might be a good source of fine fibres.

Soaked paper pulp in cement mixer
I munched up shredded paper in the cement mixer, then added the paper pulp and some chaff (straw chopped up small) to a mud slurry, plus some psyllium husk (you know, the soluble fibre people eat because they don't eat vegetables) and some linseed oil (for waterproofing).

Render recipe number one test patch fail
It didn't even come close to working.  I could hardly make it stick to the wall.  Back to the drawing board.

There's a dairy down the road.  I'm a bit shy of new people, but I'm thinking of summoning up the nerve to go introduce myself and ask them for some poo.

* By "we" I mean TJ.  I was busy making chile jam. These six jars took me pretty well the only free hours I had that weekend.  At the end, I was looking at those jars thinking they're really pretty, but I could have made a lot of wall in that time.  Which was probably the point of it. 

Chile Jam Wall Building Procrastination Project

Monday 7 March 2011

West wall thought-bubbles

OK, brace yourself because there some drainage coming on.

This is some drainage. It took a long time to dig. The ground was hard and rocky.  Moving on.

Drainage.  Try not to hyperventillate.
We've learned that we can only do a few hours of actual wall building each weekend, especially if there is non-wall work to be done.  Everything else takes ages.

 But we had a bit of a crack at the west wall.  We started on the easy centre section, but there are challenges above, below and on either side, which I'm sort of looking forward to, but only because I am insanely over-confident that the mud will show me how to solve the problems.

I don't know yet how to build the corner between the south and west walls.  You can't reach it from the inside.  On the outside, we could nail up some formwork easily enough, but we wouldn't be able to reach inside much more than a hand's depth. I've left lots of bamboo sticking out of each wall into the corner to tie the walls together, which is good, unless you are reaching in from above, in which case it's just an obstacle.  I'm actually thinking of doing it freehand - just slapping the mud on the outside and hoping it stays there until it dries, then smoothing it out with render later.

West wall thought-bubbles

How am I going to bury the cables for the solar power system?  I made this impressive wiring diagram,and planned all the components, and now I just don't trust it.  Who am I to build a power system so confidently I'm burying the wires?  But the thing is, the battery will sit right next to this section of wall, so I have to make a decision and go with it, otherwise I'll end up looking at a finished wall with a cable in one hand and a drill in the other.

We have started to build the verandah on the west wall, starting with the footings.  TJ dug out three neat square holes, and created some heavy duty formwork, then I mixed some concrete, which was a new experience.  We poured it together, sinking the little metal stirrups to exactly the right height using string lines set up at exactly the height of the wall footings. We tried to get them to within 1mm of the right spot.  I don't know how builders do it - it's difficult.

Verandah footings - see, above the word "word"?
I thought I'd be making walls as fast as I can to take advantage of the milder season, and try to get the building enclosed before winter. But starting the winter garden and preserving autumn produce happen in the same limited weekend time, so we're just going to accept a more sedate building pace.

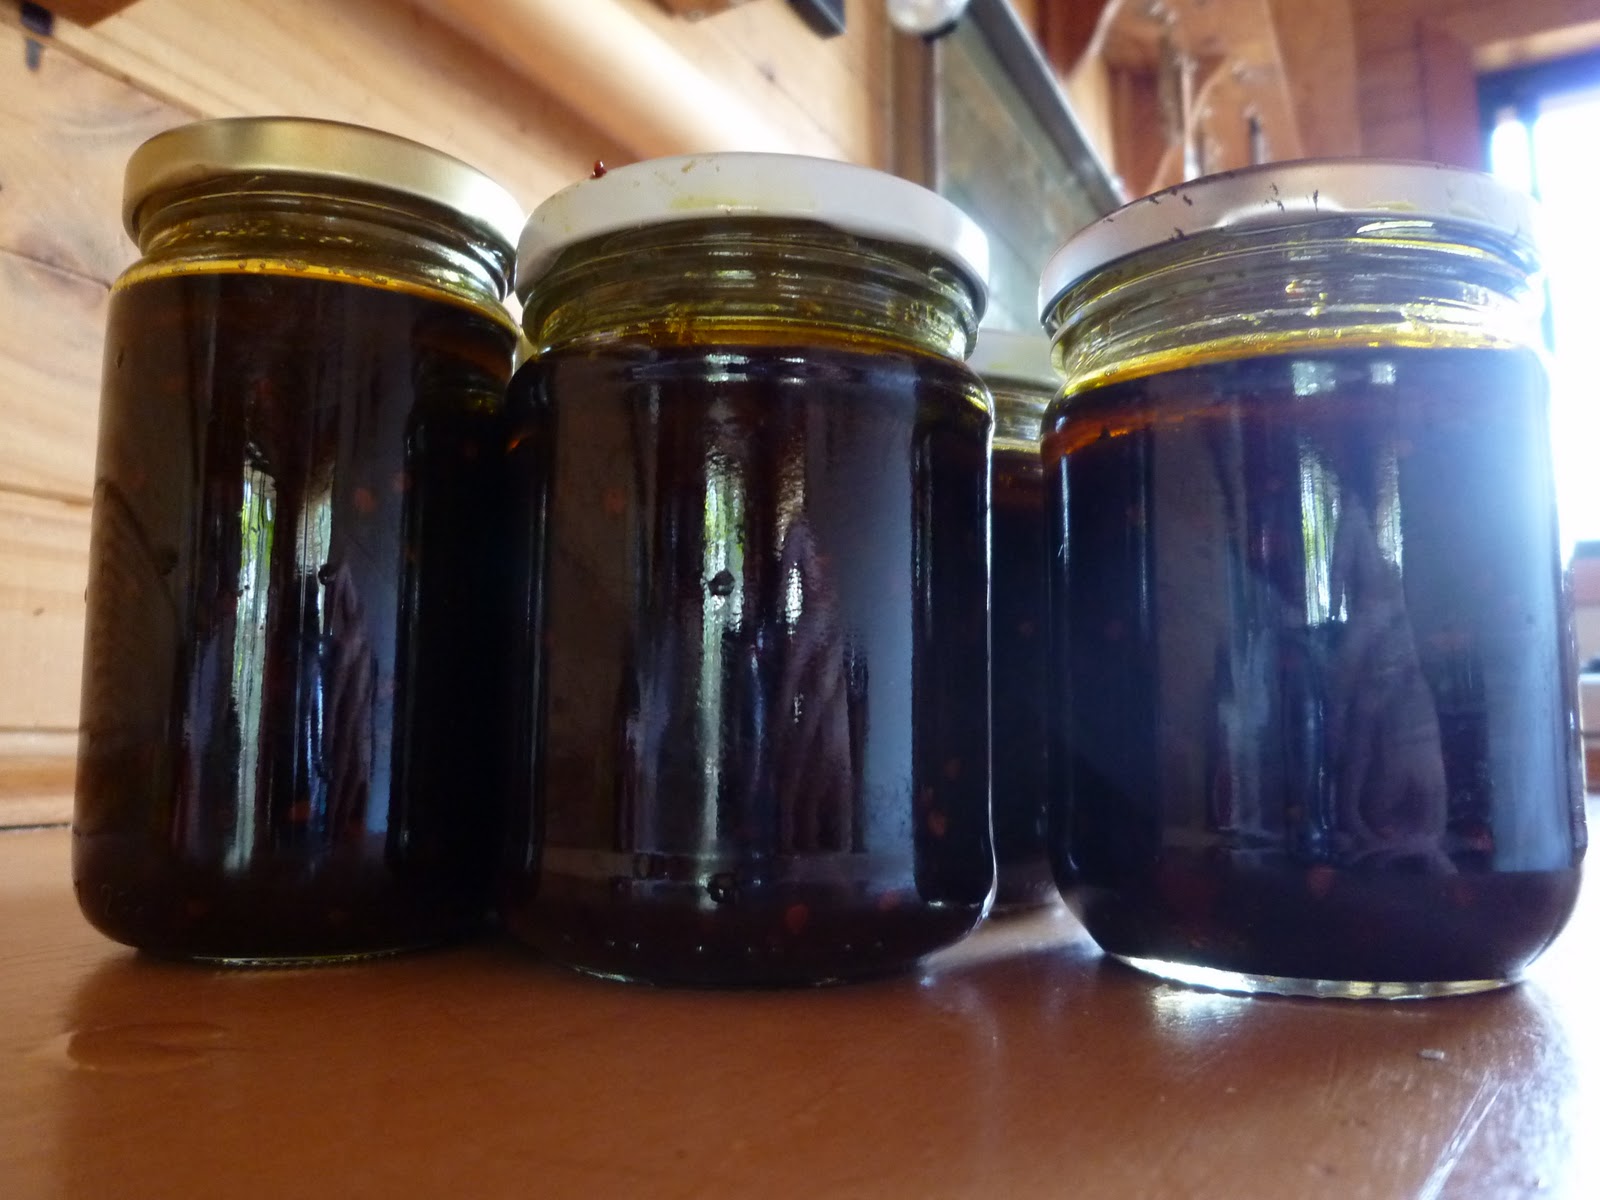
42 bottles of sunshine